
How to Clean & Lubricate Your Bike Chain
A 9-step guide to keeping your bike moving

- Check how dirty your bike chain is. If you can’t read the make and model, it needs cleaning.
- Cover your disc brakes to avoid damaging them while cleaning.
- Place a newspaper between the lower chain run and the back wheel to keep oil off your rims.
- Spray degreaser onto your chain while turning the pedals backwards.
- Rub the degreaser into the chain with a rag or a brush.
- Wait about 5 minutes and rinse the degreaser off.
- Wipe the chain clean until it’s no longer black. You might want to repeat the degreaser process more than once.
- Dry the chain with a clean cloth.
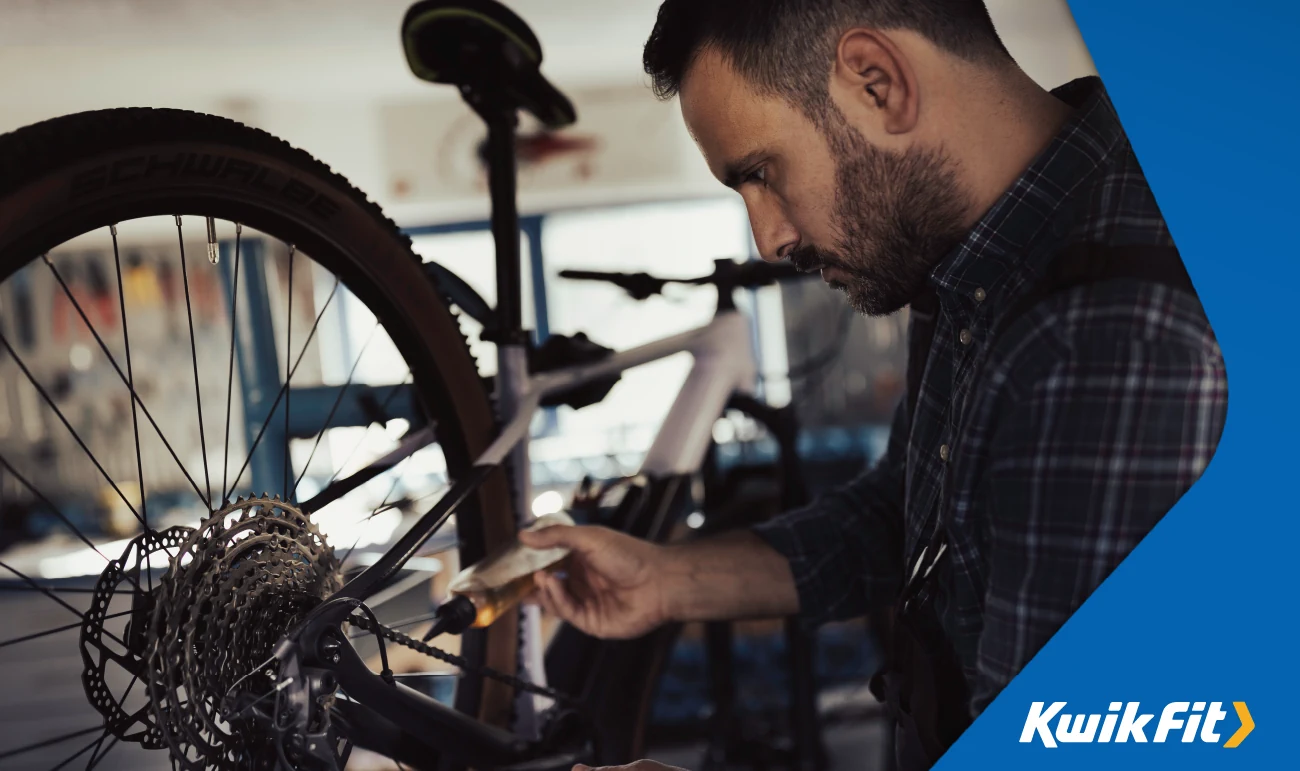
- Apply a cycle-specific chain oil onto every link, one drop at a time.
Did you know that regular bicycle chain maintenance can not only help your bike run more smoothly, but it can also keep you safe on the road? Plus, cleaning your bike properly may also prolong its lifespan, saving you money in the long run.
With the average bike chain comprising a whopping 116 links, it has more working parts than any other bike component, giving it all the more reason to need regular TLC to keep it functioning as it should.
Read on to learn more about why it’s important to take care of your bike chain, and how it may not be as daunting as you think to clean and lubricate it yourself.
Why do you need to clean your bike chain?
If you’re new to cycling, it’s easy to overlook the importance of maintaining your bike’s chain. But, it’s worth pointing out that a dirty, rusty bike chain won’t just make you work harder when you’re out on a ride, it’s also bad for your bike.
If you neglect your bike chain and leave it to get dirty or rusty, the chain links won’t pivot as they go over the sprocket and, eventually, the chain may come off the sprocket itself - meaning you’ll no longer be able to change gear. If your pleasant family bike ride ends up with you stranded miles from home on a broken bike, then it’s no laughing matter.
If cycling has become one of your regular pastimes, then looking after your bike chain should be a regular habit too!
How to maintain your bike chain
Step 1: Prepare your chain
When it comes to lubricating your bike chain, preparation is everything. Don’t just apply oil to a dirty chain — all that will do is create an adhesive paste that will grind away at the chain and potentially cause even more damage. Instead, give your chain a thorough clean first.
You don’t need to clean your chain every time you want to oil it, but you should always check whether it’s dirty first, just in case. A good tip is that, if you can’t read the make and model name of the chain (this information is usually stamped on each link), then it’s time to give it a once-over.
Before you start, it’s handy to have the following ready:
- Old newspaper
- Old rags or kitchen roll
- Some light spray oil to displace water, e.g. WD40 or GT85
- Cycle-specific chain oil
- Degreaser (avoid harmful degreasers such as diesel, benzene, gasoline, or acetone)
- A clip-on chain cleaner or stiff brushes.
Step 2: Take extra care with disc brakes
If your bike is equipped with disc brakes, then you should consider either covering your disc rotor or removing your wheel to clean the chain. If you don’t plan to cover your disc rotor, then make sure to apply degreaser as far away from it as you can.
Alternatively, you can use a chain-cleaning device, or remove the wheel and use a chain keeper instead.
Step 3: Apply degreaser
Place a sheet of newspaper between the lower run of your bike’s chain and the back wheel to keep oil off your rims. Then, spray your degreaser onto the chain whilst simultaneously turning the pedals backwards.
This will ensure you cover the whole of the chain component thoroughly. If you’ve opted for a chain-cleaning device, be sure to pour the degreaser in until it reaches the fill line.
Step 4: Use your rags
Using one of your rags or a brush, rub the degreaser into the chain. It’s a good idea to use one rag or brush just for the drivetrain and keep a clean one back to use on the rest of your bike, to avoid getting dirty black stains all over your two-wheeled pride and joy.
Step 5: Wait & rinse off the degreaser
After 5 minutes, or however long the manufacturer’s instructions state, wash the degreaser off. Why not use this time to give the rest of your bike a clean?
Step 6: Wipe the chain clean
Use a rag to wipe the chain until it’s no longer black. You may need to repeat the degreasing process if your chain is especially dirty.
Step 7: Dry the cycle chain
Once you’ve removed all the black residue from the chain, you can now dry it using a clean, dry cloth or a rag. To prevent any build-up of rust, don’t leave the chain to sit overnight before you dry it off.
Step 8: Lubricate the chain
For this final step, it’s a good idea to use a cycle-specific chain oil rather than a spray lubricant. This reduces the risk of getting lubricant on the disc brake rotor or calliper. If you’re using your bike in the winter, then wet oil will work best. By applying the lubricant one drop at a time on each link, you’ll have the chance to inspect your bike chain and check for any tight links or mispressed rivets.
What is the best thing to clean a bike chain with?
The best thing to clean a bike chain with is cycle-specific chain degreaser, as this is highly effective at cutting through the grime and debris that’s built up over time. For lighter grime, a gentle mixture of warm water and mild dish soap applied with a toothbrush is enough. If you’re not keen to get your hands dirty, you can always use a chain cleaner tool to do the work for you.
Can I use WD-40 to clean a bike chain?
It is possible to use a lubricant like WD-40 to clean your bike chain if you’re in a fix and need a quick solution. However, WD-40 is not optimal in the long term since it can actually displace some of the lubricant in the chain. For the best results, we’d always recommend using a chain cleaner that’s specific to the make of your bike.
Can I clean a bike chain with Fairy Liquid?
Yes, you can clean your bike chain with washing-up liquid like Fairy Liquid if you don’t have any alternatives to hand. Washing-up liquid is good at cutting through light levels of grease and grime, especially if scrubbed gently into the chain with a toothbrush.
However, for the best results, we’d suggest only using a washing-up liquid mixture to give your chain a light clean between more intensive chain cleaner treatments.
Can I clean my bike chain without degreaser?
Yes, you can clean your bike chain even if you don’t have degreaser to hand - just don’t expect the same results. As is commonplace in the motoring world, a bucket of clean, warm, soapy water can do wonders. You can use gentle washing-up liquid and a brush to scrub the chain, or simply a damp rag to wipe the chain down between rides to remove any debris.
It’s important to note that you don’t need to keep your chain spotless; overcleaning a chain runs the risk of removing the necessary lubrication and causing damage.
Can I use Vaseline to lubricate a bike chain?
While it might seem like a logical quick fix, products like Vaseline are not a good idea when it comes to lubricating your bike chain. Unfortunately, the stickiness of the jelly actually attracts more dirt and debris onto the chain, causing greater levels of friction and quicker chain wear in the long run.
Faff-free bike repairs with Fettle
Kwik Fit has partnered with Fettle to offer ‘faff-free’ bike repairs and servicing, across a growing network of workshops in the UK. From free bike assessments, to hassle-free bicycle MOTs and puncture repair services, Fettle has all your bike maintenance needs covered. You can even arrange home pick-up and delivery too if you’re based in London.
Any facts, figures and prices shown in our blog articles are correct at time of publication.


